
Essentials
-
Washing up liquid
-
Washing up sponge
-
Microfibre cloths
-
Rubber gloves
-
Kitchen cleaner spray
-
Limescale remover
-
Mop and bucket
-
Vacuum cleaner
Method
-
Start with a general tidy of the kitchen, disposing of rubbish and placing anything that’s been left out back to its rightful home.
Clear any dishes left in or by the sink. If there are clean dishes on the drying rack, place these away in an orderly fashion, to make room for your washing up to dry.
If the kitchen has a dishwasher, this can be emptied, refilled and turned on, but do make sure to check any dishes placed within the dishwasher are ‘dishwasher-safe’. Any that aren’t should be hand washed in a sink of washing up liquid and hot water.
More information on washing up dishes here.
-
Dust and wipe all accessible surfaces - remember, this should be done top to bottom, starting with the highest points of the room. This will also include wiping the exterior of the kitchen cupboards and the cooker hood, as well as the vertical surfaces such as the fridge/freezer door. When wiping the fridge/freezer and cupboards, don’t forget to give the door handles a clean too.
For wiping the worktops, you can use a kitchen cleaner, or a light solution of washing up liquid and warm water can work too.
-
Wipe the hob. It’s essential that this be done with a soft cloth and appropriate, non-abrasive. Hobs can be easily scratched so it’s important to take care with this task. You may want to spray the product on and then wait a few minutes before wiping, to allow the cleaner to work it’s magic.
Electric or induction hobs can just be wiped over, but if you/your customer has a gas hob, it’s best to remove the metal pan support, and wash these in the sink.
A quick wipe over the front of the oven is also a good idea at this point, remembering to clean the knobs and handles as well as the exterior of the door. You can use a general kitchen spray for this, or a multi-surface cleaner will work too.
-
The microwave interior and exterior should then be wiped out. If done so frequently, this should prevent a build-up, which would require a more thorough approach. To clean the inside of the microwave, place a bowl of water in there and microwave on full power for 3 minutes, or until the door is steamed. Taking care, remove the bowl and wipe out the insides. Remove the turntable and wash this and the bowl up. Dry the turntable and return to the inside of the microwave.
-
Clean the sink using a cloth, kitchen cleaner and hot water. It may be the case that limescale has built up around the taps, or elsewhere in the sink; if so, apply some limescale remover too, as per the product instructions. This usually involves applying the product and waiting a few minutes before washing away.
-
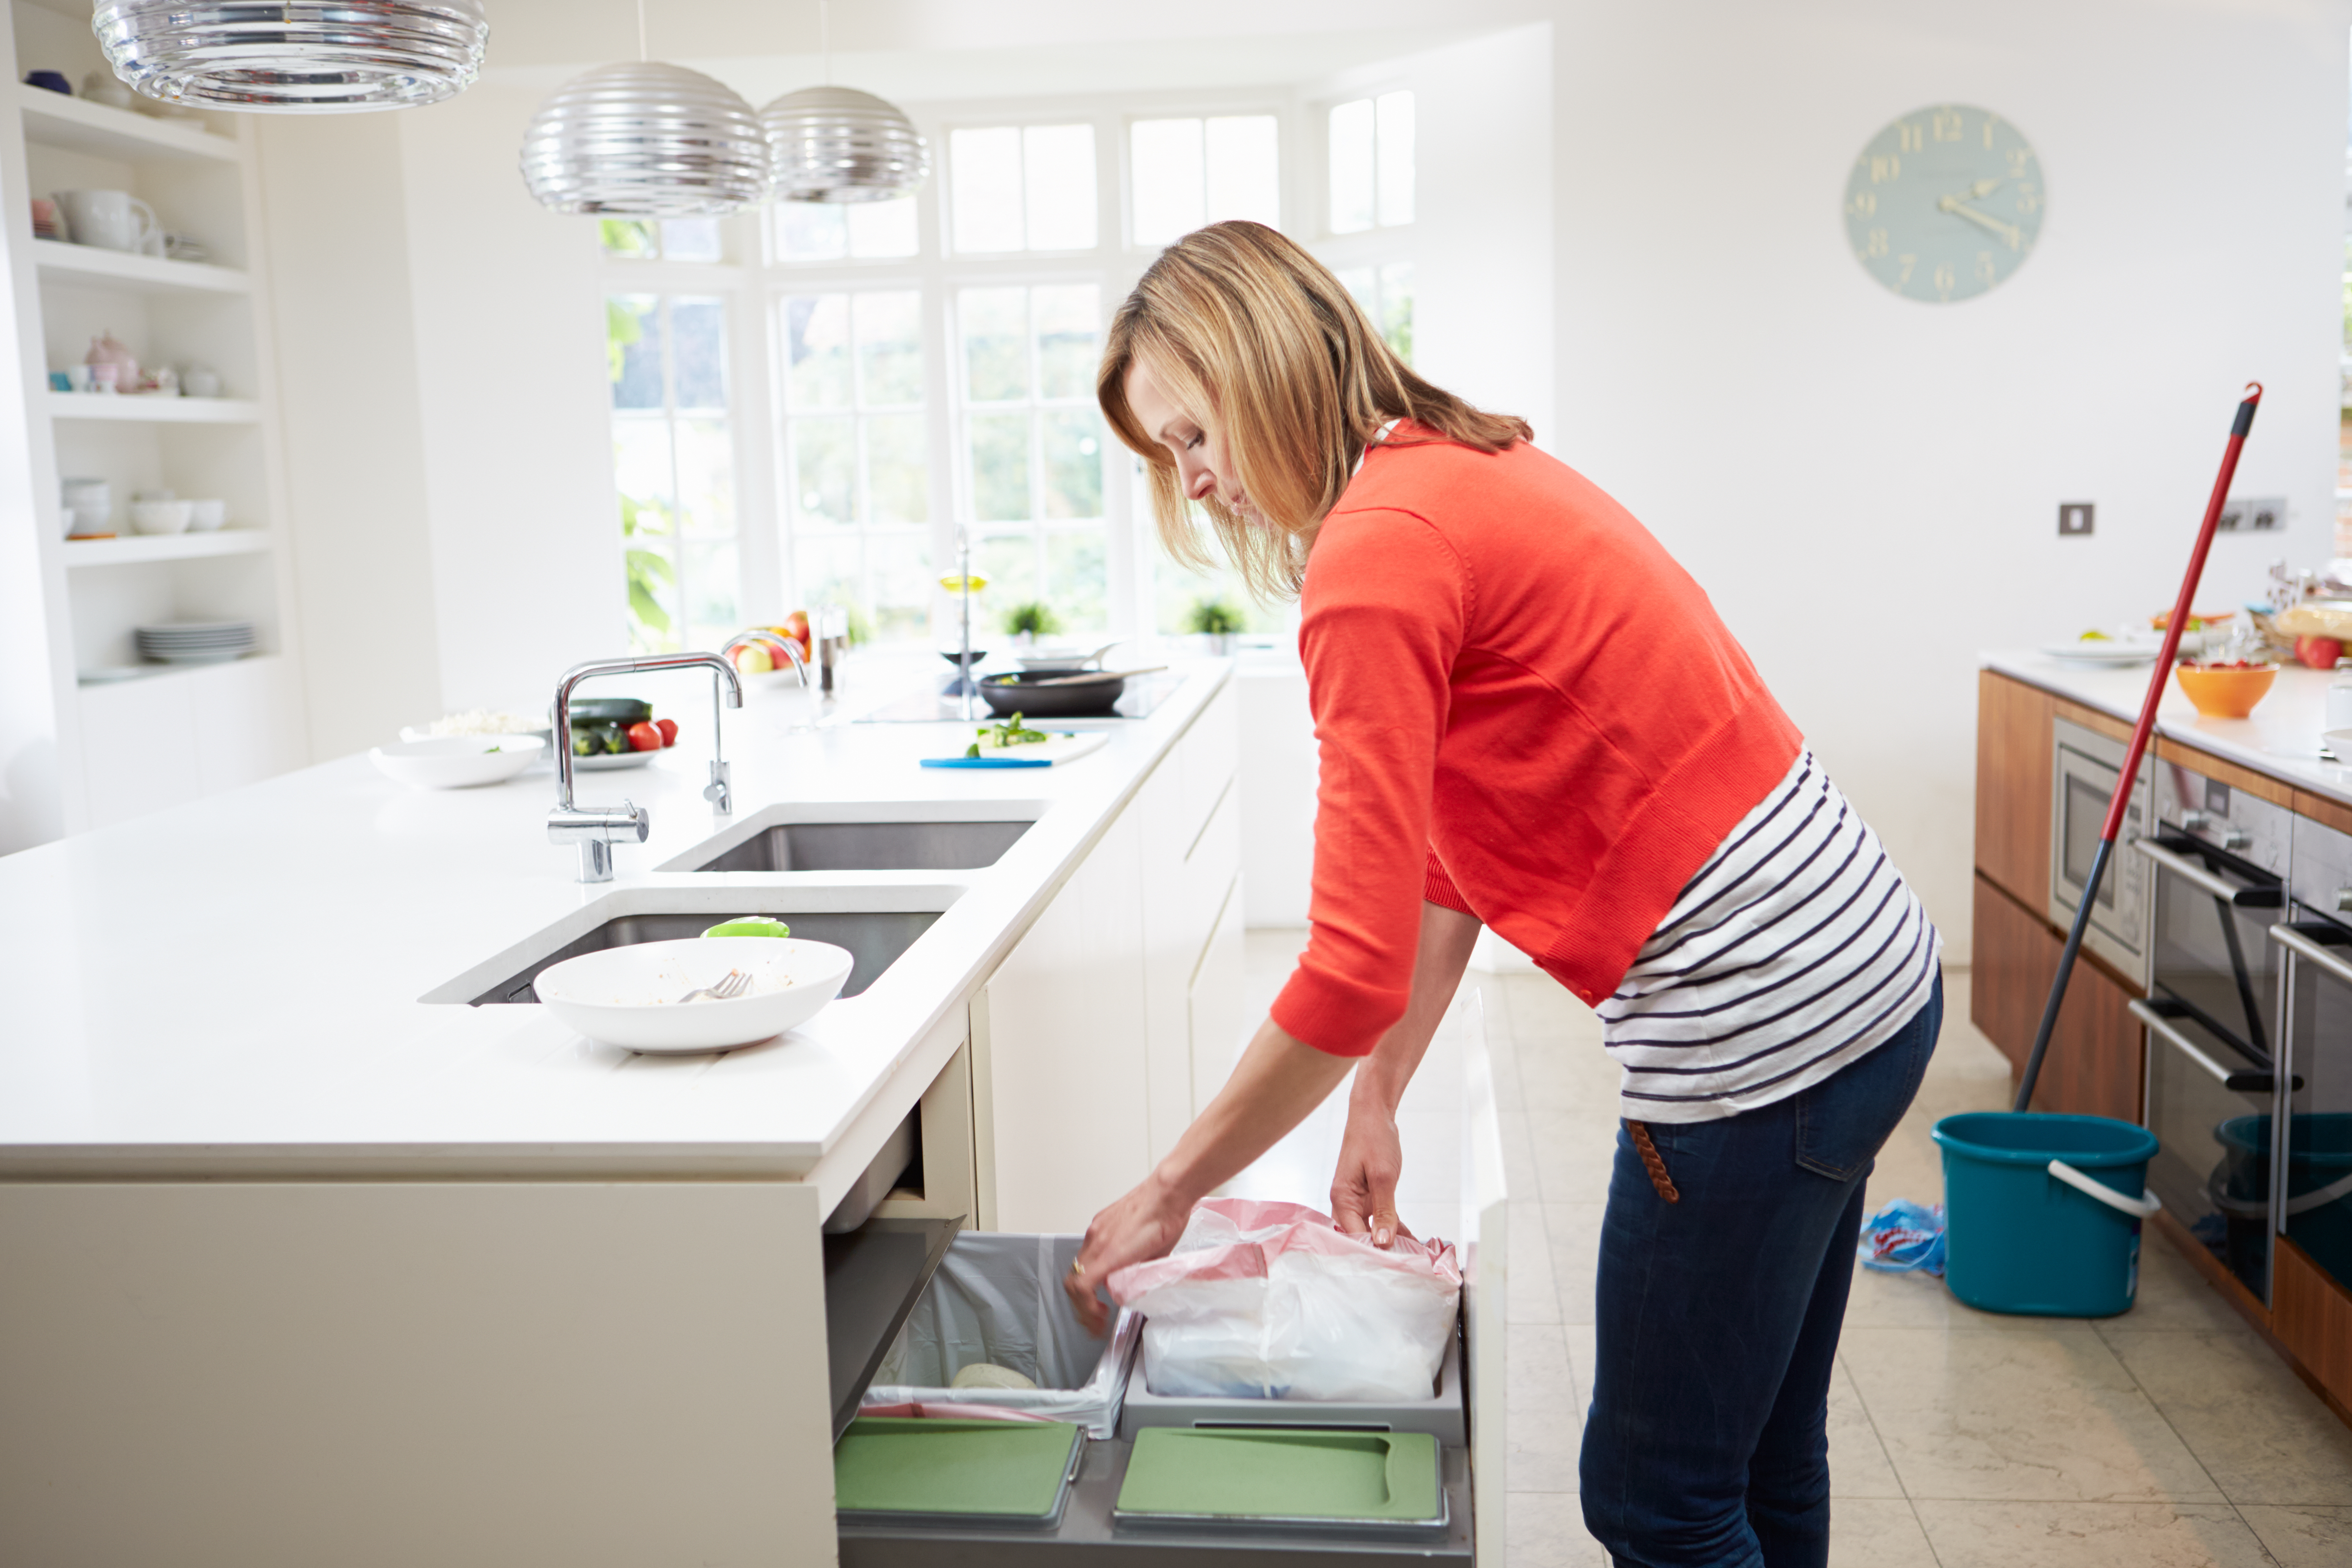
You’re nearly done! Before mopping the kitchen you’ll need to remove the bins - both the rubbish and the recycling - ensuring these are labelled as necessary, and placed in the appropriate bins.
How rubbish is separated and the rules around disposal may vary from borough to borough so it’s important to ask your customers if you’re unsure.
-
Now that all surfaces have been dusted, wiped and cleared, you’re able to crack on with the floor. First sweep and/or vacuum the floor, reaching all corners of the room. Ensure that the correct attachment is used to prevent any damage being caused to the floor surfaces.
-
Once vacuumed, and the vacuum cleaner is out of your way, it’s time to mop.
Fill a bucket with warm water and floor cleaner, and mop the floor left-right, back-to-front, rinsing and wringing the mop frequently to ensure you’re working with clean water.
You should aim to use as little water & product as possible to avoid streaks.
Back out of the room as you mop to ensure that you don’t have to walk over the clean wet floor. A small figure of 8 motion is also advised when mopping to ensure that no areas are missed.
When completed, pour the water down the nearest toilet/shower drain. We don’t want this water around food surfaces.